Home » Blog » When to Lift and Separate Yucca Plants: A Guide
When to Lift and Separate Yucca Plants: A Guide
December 29, 2024
Yucca plants are highly favored by both gardeners and homeowners for their durability and minimal upkeep. Nonetheless, as they develop and age, it might become necessary to elevate and divide them to preserve their health and visual appeal. Being familiar with the appropriate timing and method for this procedure is critical for sustaining the ongoing beauty and robustness of your yucca plants.
Identifying the right time to lift and separate yucca plants can be a bit tricky, as it largely depends on the plant’s growth patterns and overall health. Generally, it’s best to perform this task in the spring or fall when the plant is not actively growing. Signs that your yucca plant may need to be lifted and separated include overcrowding, yellowing or browning leaves, and stunted growth.
Executing the lift and separation process involves carefully digging up the plant and separating the individual pups or offsets from the main root system. This can be a delicate process, as yucca plants have a deep taproot that must be handled with care. With the right tools and techniques, however, you can successfully lift and separate your yucca plants and promote their continued growth and beauty.
Key Takeaways
Timing is key when it comes to lifting and separating yucca plants.
Signs that your yucca plant may need this task include overcrowding and stunted growth.
Careful execution of the lift and separation process is essential for the continued health and beauty of your yucca plants.
Identifying the Right Time to Lift and Separate Yucca Plants
If you have an established yucca plant, you may need to lift and separate it to keep it healthy and thriving. Dividing yucca plants is a common practice and can be done in spring when the plant is actively growing. However, it’s important to understand the yucca plant growth cycles and assess its health and clump size before you start dividing it.
Understanding Yucca Plant Growth Cycles
Yucca plants have a unique growth cycle that requires them to go through a period of dormancy before they can start growing again. This means that they may not show any visible growth for several months, even up to a year. During this time, the plant is storing energy and preparing for its next growth spurt.
To identify the right time to lift and separate your yucca plant, you need to wait until it has completed its dormancy period and has started to show new growth. This usually happens in spring when the weather warms up, and the days start to get longer.
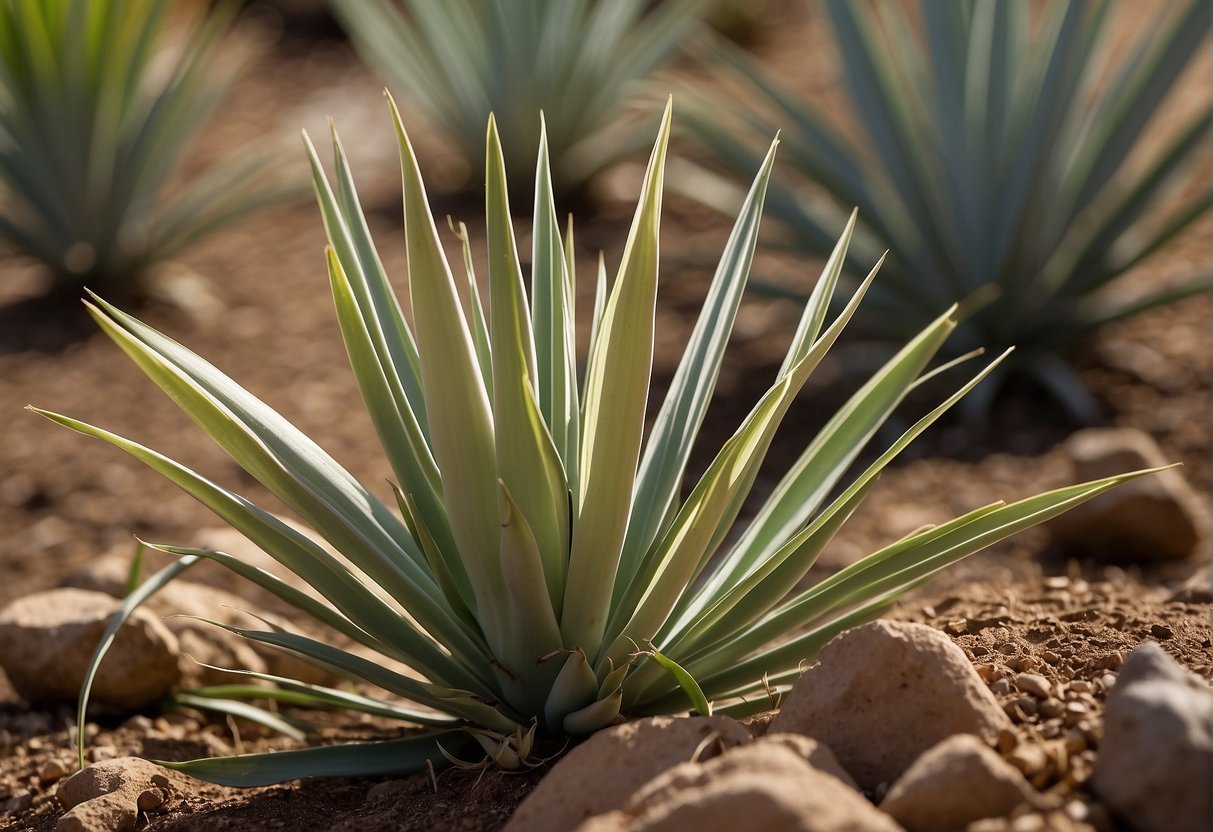
Assessing Yucca Health and Clump Size
Before you start dividing your yucca plant, you need to assess its health and clump size. A healthy yucca plant will have vibrant green leaves, and its stem will be firm and upright. If you notice any signs of yellowing or wilting leaves, it may be an indication of a problem.
You should also check the size of the yucca clump. If it has become too large for its container or the space it’s in, it may be time to divide it. However, if the clump is still small and hasn’t outgrown its space, you can wait a little longer before dividing it.
In summary, the best time to lift and separate your yucca plant is in spring when it’s actively growing. Before you start dividing it, make sure to assess its health and clump size to ensure that it’s ready to be divided. By following these simple steps, you can keep your yucca plant healthy and thriving for years to come.
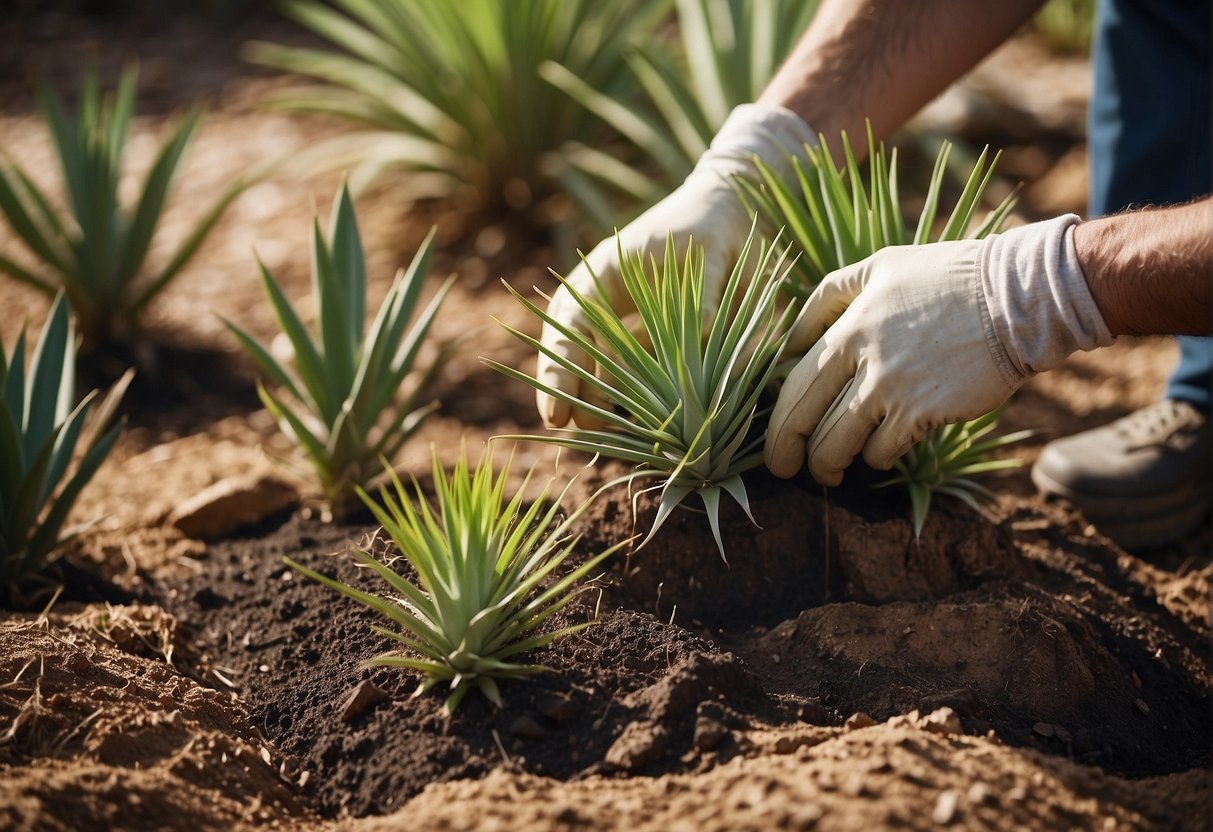
Executing the Lift and Separation Process
If you have decided to divide and propagate your yucca plant, it is important to execute the lift and separation process correctly to ensure the health and vitality of your plants. Here are some steps to follow:
Preparing the Yucca for Division
Before you begin to divide your yucca, make sure to water it thoroughly a few days in advance. This will help to loosen the soil and make it easier to remove the plant from its pot or the ground. You should also prepare a clean and sharp cutting tool, such as a pruning saw or a sharp knife, to cut through the roots.
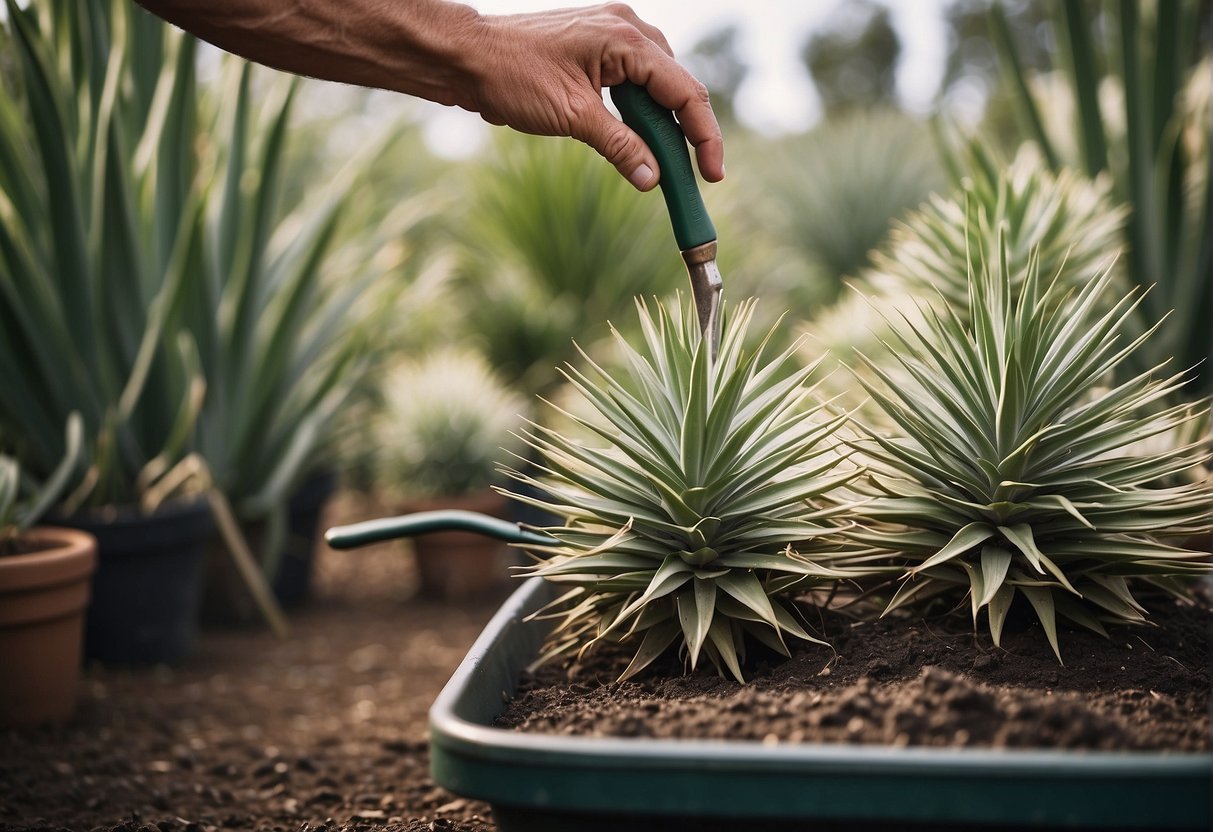
Techniques for Dividing and Propagating Yucca
Once you have removed the yucca plant from its pot or the ground, gently shake off any excess soil to expose the roots. Look for any offsets or pups that have formed around the base of the plant. These are the new plants that you will be propagating.
To separate the offsets or pups, use your cutting tool to carefully cut through the roots that connect them to the parent plant. Make sure to leave enough roots attached to the new plant to ensure its survival. You can also divide the parent plant itself by cutting it into sections, making sure that each section has enough roots and foliage to survive.
Once you have separated the new plants, you can either pot them up individually or plant them directly into the ground. If you are potting them up, make sure to use a well-draining soil mix and provide drainage holes at the bottom of the pot to prevent waterlogging. Water the plants thoroughly and place them in a bright, but not direct, sunlight.
Caring for Newly Separated Yucca Plants
After you have propagated your yucca plants, it is important to care for them properly to ensure their survival. Water them regularly, but make sure not to overwater them, as yuccas are susceptible to root rot. Allow the soil to dry out slightly between waterings.
Keep the plants in a bright, but not direct, sunlight, and protect them from extreme temperatures and strong winds. Monitor their growth and development, and fertilize them sparingly with a balanced fertilizer to encourage root development and healthy foliage.
Following these steps will help you to successfully lift and separate your yucca plants, and propagate them for a healthy and vibrant garden.
Frequently Asked Questions
How can I properly divide a mature yucca plant?
To divide a mature yucca plant, you will need a sharp, clean knife or pruning saw. Start by removing any dead or damaged leaves from the plant. Then, carefully dig around the base of the plant to expose the root system. Use your knife or saw to cut through the roots, dividing the plant into sections. Be sure to leave enough roots on each section to support the plant.
What is the correct technique to split indoor yucca plants?
To split an indoor yucca plant, start by removing it from its container. Gently loosen the roots and carefully separate the plant into sections. Be sure to leave enough roots on each section to support the plant. Then, plant each section in a new container with fresh soil.
What steps are involved in propagating yucca side shoots?
To propagate yucca side shoots, start by identifying a healthy side shoot on the parent plant. Use a sharp, clean knife to cut the shoot off the parent plant, making sure to leave a small piece of stem attached. Dip the cut end of the shoot in rooting hormone and plant it in a pot with fresh soil. Water the plant regularly and keep it in a warm, bright location.
Can yucca cuttings be planted directly into soil?
Yes, yucca cuttings can be planted directly into soil. To do this, simply take a cutting from a healthy yucca plant and plant it in a pot with fresh soil. Water the plant regularly and keep it in a warm, bright location.
How should yucca pups be separated for replanting?
To separate yucca pups for replanting, start by identifying a healthy pup on the parent plant. Use a sharp, clean knife to cut the pup off the parent plant, making sure to leave a small piece of stem attached. Then, plant the pup in a pot with fresh soil. Water the plant regularly and keep it in a warm, bright location.
What is the best method for transplanting a yucca plant?
To transplant a yucca plant, start by choosing a new location with well-draining soil and plenty of sunlight. Dig a hole that is slightly larger than the root ball of the plant. Gently remove the plant from its current container or location and place it in the hole. Backfill the hole with soil and water the plant thoroughly.
Hi Lovelies ! I made this blog to share my tips about Home Improvement, Children, Pets, Food, Gadgets, Automotive, Health & Beauty, and ways to be frugal while maintaining a natural lifestyle. Interested to be a Guest Blogger on my website? Please email me at: [email protected]