
In search of a distinctive and tasty jelly recipe? Your search ends with beautyberry jelly. Crafted from the callicarpa plant’s berries, known as American beautyberry, this jelly boasts a striking purple hue and a sweet yet tangy taste that’s ideal for slathering on toast or pairing with cheese.
To make beautyberry jelly, you’ll need to start by harvesting the berries from the plant. The berries are typically ready to pick in late summer or early fall, and you’ll want to make sure they’re fully ripe before using them. Once you’ve gathered your berries, you’ll need to prepare them by removing the stems and washing them thoroughly.
From there, it’s a simple matter of cooking the berries with sugar and water, then straining the mixture to remove any solids. The resulting juice can then be cooked further with pectin to create a thick, spreadable jelly that’s perfect for enjoying year-round.
Key Takeaways
- Beautyberry jelly is a unique and delicious recipe made from the berries of the callicarpa plant.
- To make beautyberry jelly, you’ll need to harvest and prepare the berries, then cook them with sugar and water.
- The resulting jelly can be canned and enjoyed throughout the year.
Preparing the Ingredients
Before you can make beautyberry jelly, you need to gather and prepare the necessary ingredients. This involves harvesting and washing the beautyberries, creating beautyberry juice, and measuring the sugar and pectin.
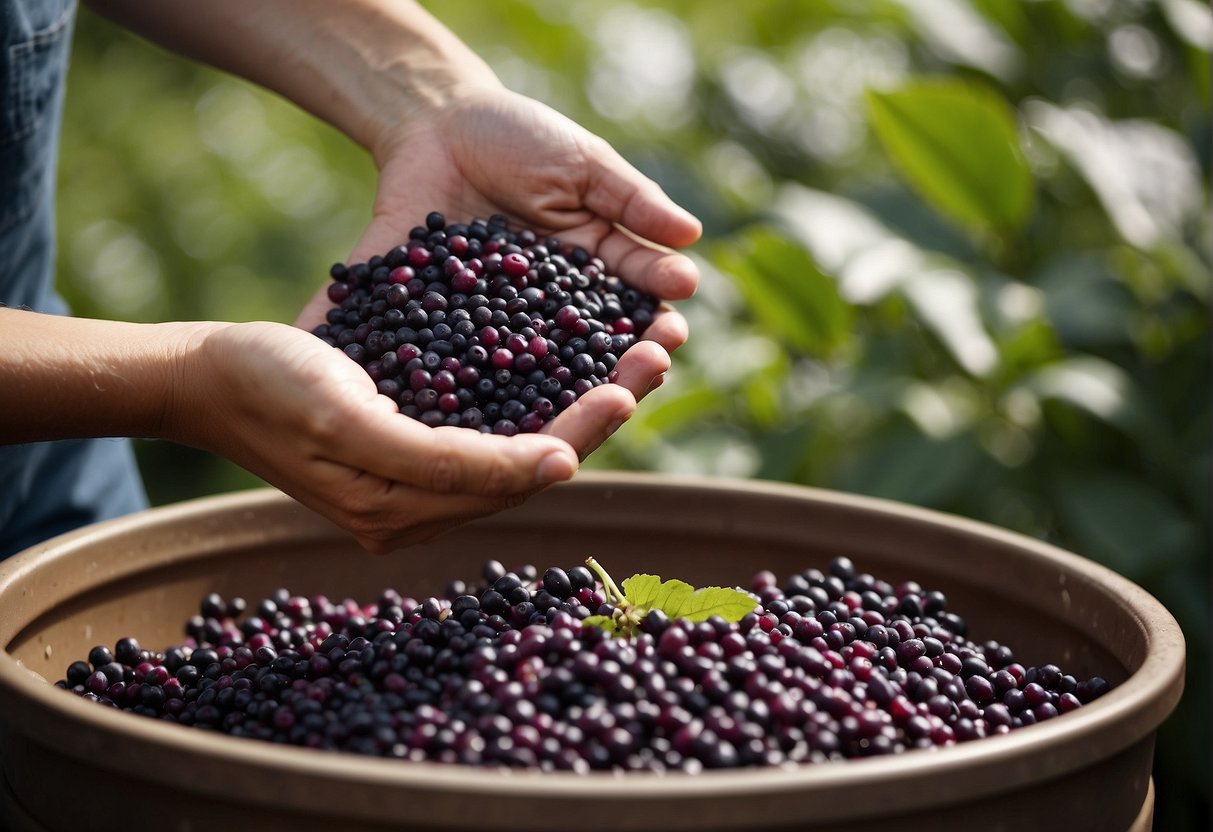
Harvesting and Washing Beautyberries
To start, you’ll need to forage for ripe beautyberry clusters. Look for clusters that are a bright, vibrant purple color. Once you’ve gathered your berries, it’s important to wash them thoroughly. Rinse them in cool water and remove any stems or leaves that may be attached.
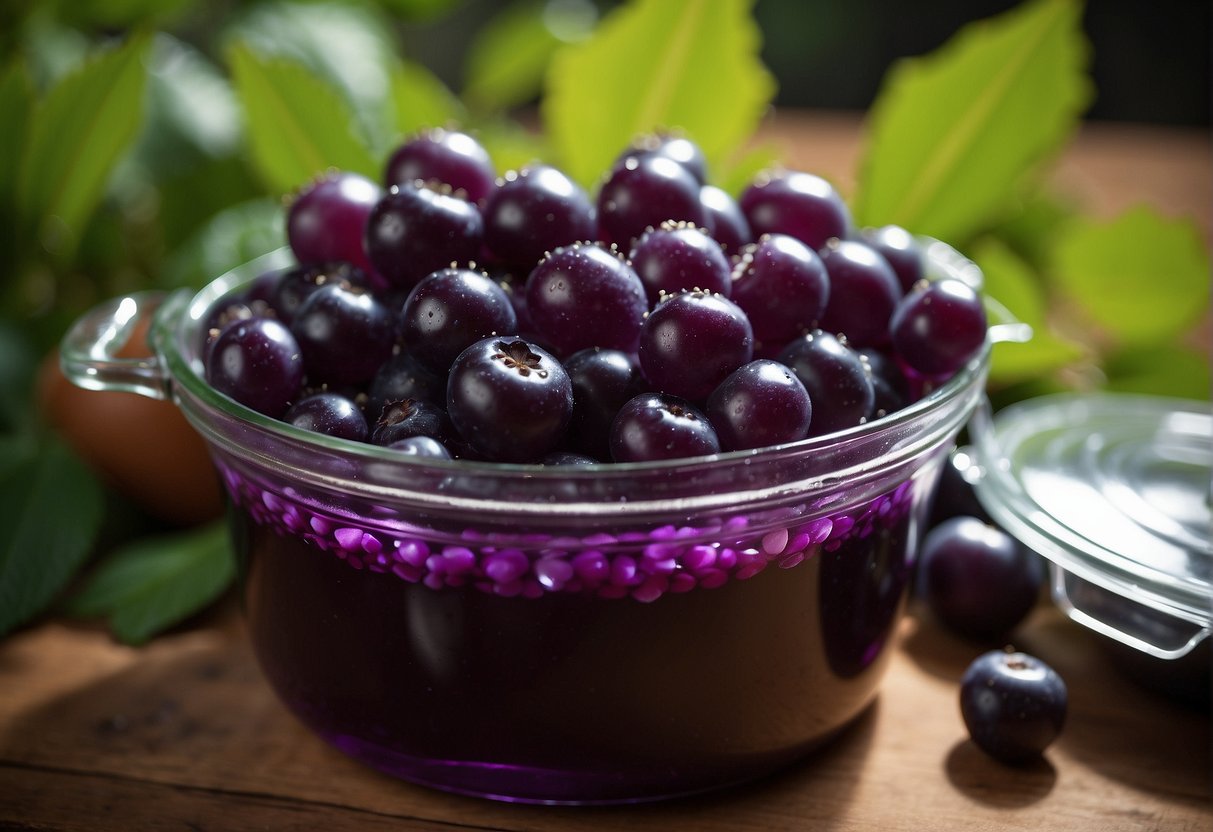
Creating Beautyberry Juice
Once you’ve washed your berries, it’s time to create the beautyberry juice. To do this, place the berries in a large pot and add enough water to cover them. Bring the water to a boil and then reduce the heat to a simmer. Allow the berries to simmer for about 20 minutes, or until they are soft and have released their juice.
Next, you’ll need to strain the juice from the berries. You can do this by placing a fine mesh strainer over a large bowl and pouring the mixture through it. Be sure to press down on the berries to extract as much juice as possible.
Measuring Sugar and Pectin
Once you’ve created your beautyberry juice, it’s time to measure out your sugar and pectin. You’ll need 4 cups of beautyberry juice, 7 cups of sugar, and 1 package of pectin. Combine the juice and pectin in a large pot and bring the mixture to a rolling boil. Add the sugar and stir constantly until it has dissolved.
In conclusion, preparing the ingredients for beautyberry jelly is a crucial step in the jelly-making process. By following these steps, you’ll be well on your way to creating a delicious and beautiful jelly that everyone will enjoy.
Cooking and Canning
Once your beautyberry juice and sugar mixture has reached the desired consistency, it’s time to start the canning process. Here’s how to do it:
Boiling the Mixture
Before you start boiling the mixture, add 1 tablespoon of lemon juice and remove any foam that may have formed on the surface. Once the foam is removed, bring the mixture to a rolling boil over high heat. Stir the mixture constantly to avoid burning the jelly.
Sterilizing Jars and Lids
While the mixture is boiling, sterilize your jars and lids. Place them in a large pot of boiling water for at least 10 minutes. This will kill any bacteria that may be present in the jars and lids.
Filling and Sealing Jars
Once the jars and lids are sterilized, use tongs and a funnel to fill the jars with the hot jelly mixture, leaving about 1/4 inch of headspace at the top. Wipe the rims of the jars with a clean, damp cloth to remove any residue. Place the lids on the jars and screw the bands on tightly.
Canning Process
To process the jars, place them in a water bath canner, making sure they are completely covered with water. Bring the water to a boil and process the jars for 10 minutes. After 10 minutes, remove the jars from the canner and place them on a towel to cool. As the jars cool, you will hear a popping sound, which indicates that they have been properly sealed.
Make sure to label your jars with the date and contents. Store the jars in a cool, dark place for up to a year. Enjoy your homemade beautyberry jelly on toast, biscuits, or as a topping for ice cream.
Frequently Asked Questions
What is the best method to make beautyberry jelly without using pectin?
The best method to make beautyberry jelly without using pectin is to use a combination of high-pectin fruits, such as tart apples or quince, and lemon juice. The natural pectin in these fruits will help the jelly set without the need for added pectin.
How do I create beautyberry jelly using Sure-Jell as a thickening agent?
To create beautyberry jelly using Sure-Jell as a thickening agent, follow the instructions on the package for making jelly. Be sure to use the exact amount of sugar and fruit called for in the recipe, and follow the cooking and canning instructions carefully.
What are the steps involved in canning beautyberry jelly for preservation?
To can beautyberry jelly for preservation, you will need to sterilize your jars and lids, fill the jars with hot jelly, and process them in a boiling water bath for the recommended amount of time. The exact steps and processing time will depend on your altitude and the size of your jars, so be sure to consult a trusted canning resource for detailed instructions.
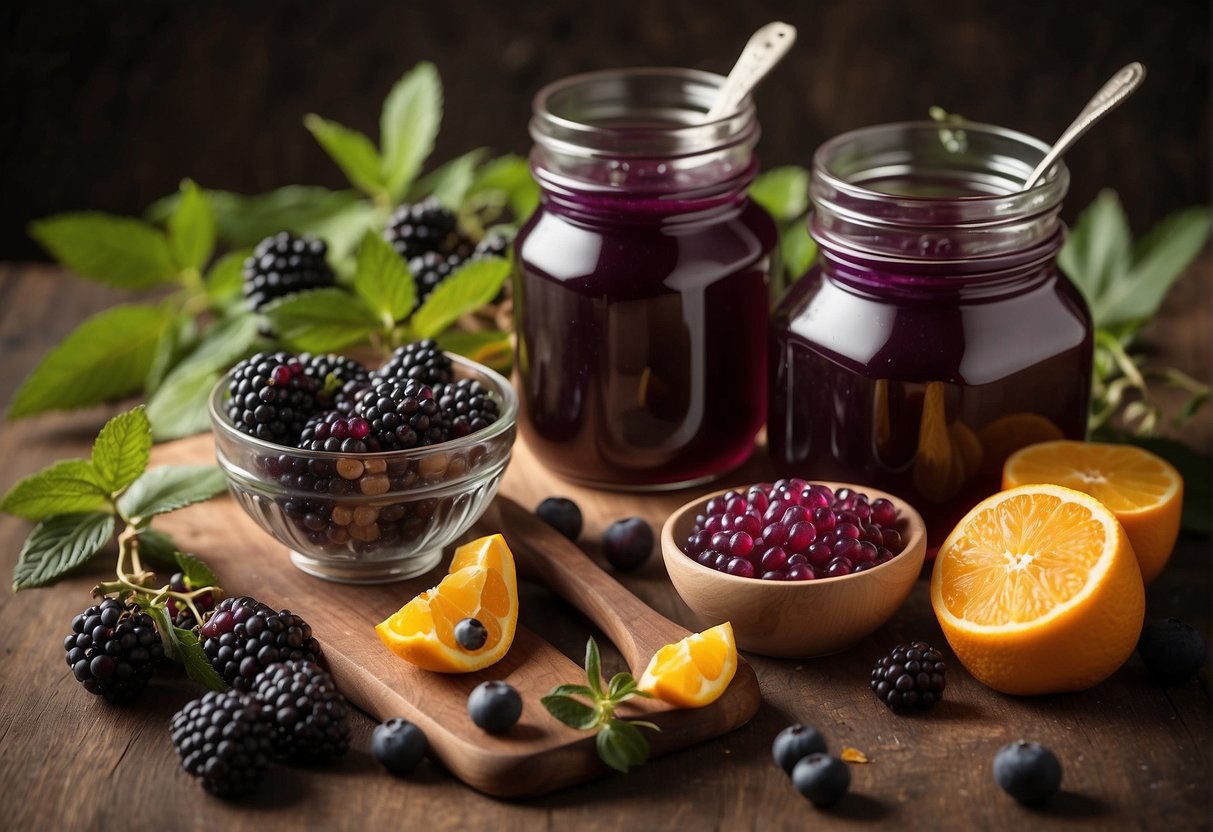
Can you describe the flavor profile of homemade beautyberry jelly?
Homemade beautyberry jelly has a unique, tart-sweet flavor that is reminiscent of cranberries or pomegranates. It pairs well with creamy cheeses, roasted meats, and other savory dishes, as well as toast, scones, and other breakfast treats.
What is the most recommended recipe for crafting the perfect beautyberry jelly?
There are many recipes available for crafting the perfect beautyberry jelly, but one of the most recommended is a simple recipe that calls for beautyberries, sugar, lemon juice, and water. This recipe allows the natural flavor of the beautyberries to shine through, while still providing a balanced sweetness and tartness.
How can beauty berries be effectively preserved for long-term use?
Beautyberries can be effectively preserved for long-term use by freezing, drying, or canning them. To freeze beautyberries, simply wash and dry them, then place them in a single layer on a baking sheet and freeze until solid. Once frozen, transfer them to a freezer-safe container or bag and store in the freezer for up to 6 months. To dry beautyberries, wash and dry them, then spread them out on a baking sheet and place in a warm, dry location until completely dry and shriveled. Store the dried berries in an airtight container in a cool, dry place for up to 1 year. To can beautyberries, follow the instructions for canning beautyberry jelly, using a hot pack method to pack the berries into jars before processing.


